The quickest way to scan from a Canon printer to a computer
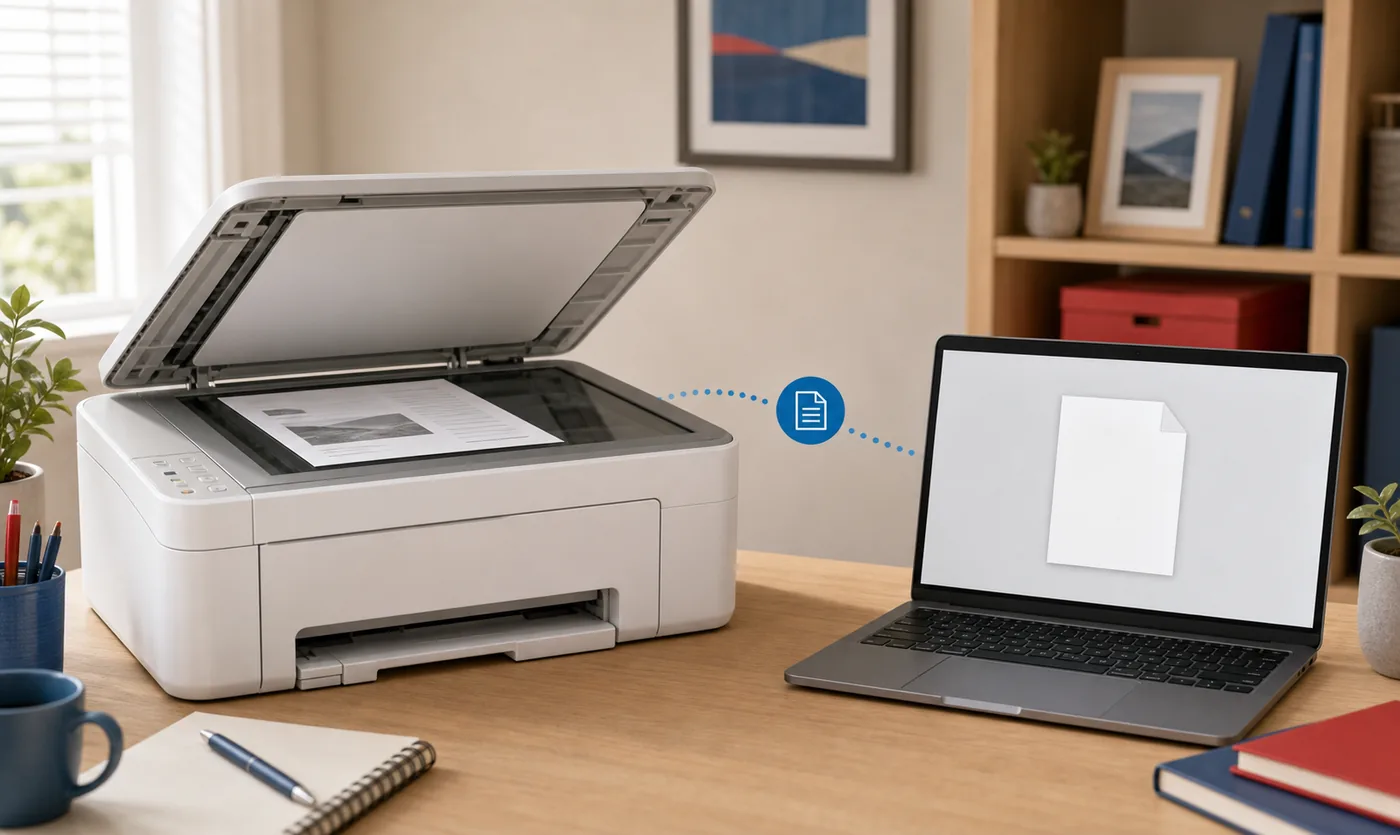
Use this sequence when IJ Scan Utility is already installed and the scanner appears on the computer.
Place the original face down on the scanner glass, aligning it with the corner mark, or load a document into the automatic document feeder if the model supports one. Wake the printer and verify that the computer is connected by USB or to the same local network.
Open IJ Scan Utility on Windows or IJ Scan Utility Lite on supported Mac models. Select the intended scanner in Settings, choose Document for normal pages or Photo for photographs, review the destination folder and press the matching scan button. Open the resulting file before removing the original so you can confirm orientation, completeness and readability.
- Use Document mode for letters, receipts and multi-page office records.
- Use Photo mode when color and image detail matter more than compact file size.
- Choose PDF for a document that may contain several pages; choose JPEG for a single image.
- Run one simple local test before enabling OCR, cloud folders or advanced corrections.
Prepare the Canon printer, computer and scanning software
Most failed scans begin with the wrong device selection, an incomplete software package or a connection that works for printing but not scanning.
Read the complete model from the printer label or display. Similar product names can use different drivers, and IJ Scan Utility may be included inside a larger Canon driver or software package instead of appearing as a separate download. Select the exact Windows or macOS release on the official regional support page.
On Windows, search Start for IJ Scan Utility or Canon Utilities. On Mac, open Applications and look for IJ Scan Utility Lite when that is the package supported by the model. If the application is missing, return to the official model page rather than downloading an executable from an unofficial mirror.
Before scanning, remove paper clips and dust from the glass, flatten folded corners, and close the lid gently. For feeder scans, adjust the paper guides so the stack remains straight. A clean, square original saves more time than trying to repair skew and shadows after the scan.
Choose USB or Wi-Fi before starting the scan
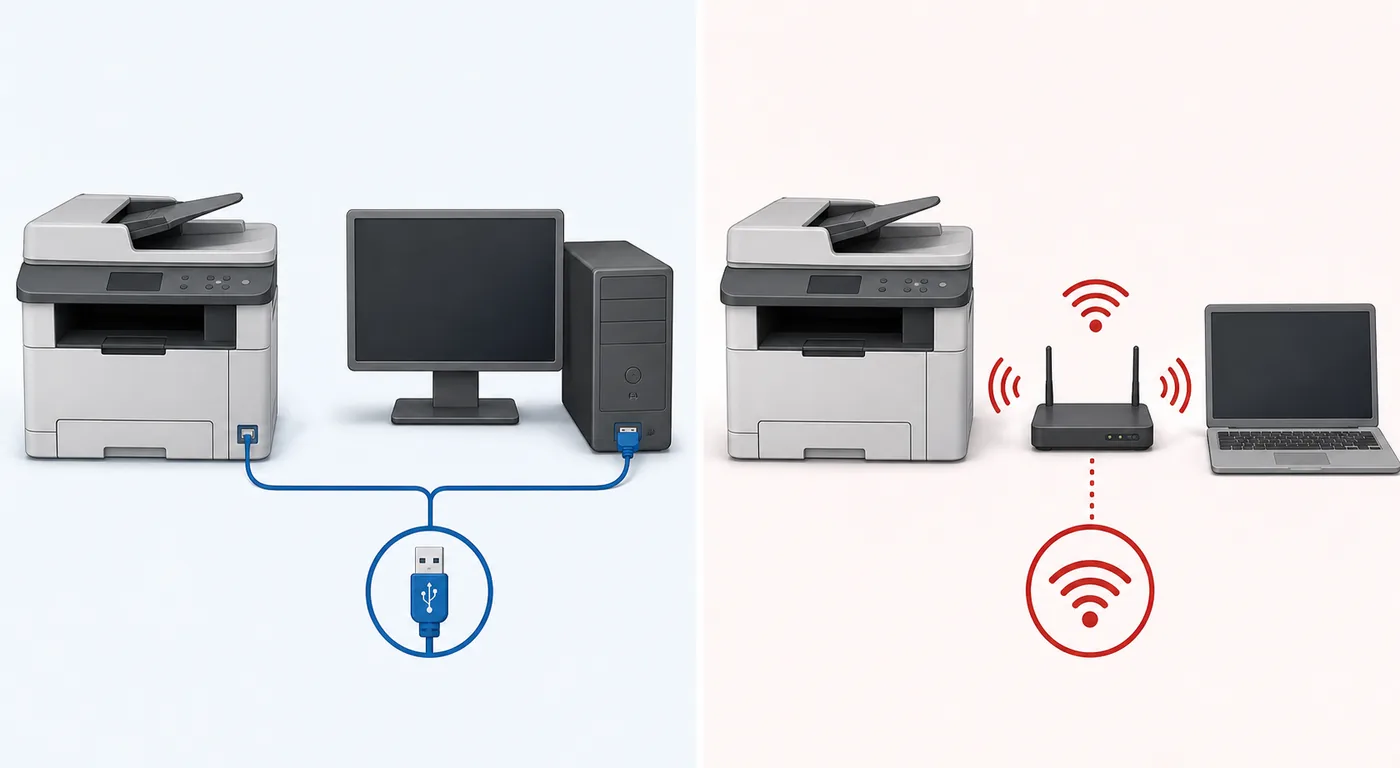
Both methods can work, but the scanner selected inside the utility must match the active connection.
USB is the simplest test because it removes router, guest-network and device-discovery variables. Connect the printer directly to the computer, avoid an unpowered hub during troubleshooting and wait for the operating system to finish identifying the device before opening the utility.
For Wi-Fi scanning, place the printer and computer on the same local network. A guest network, VPN, client-isolation setting or changed router can allow internet access while preventing local scanner discovery. If the printer was recently moved to another network, update its wireless settings and then select the network version of the scanner again in IJ Scan Utility Settings.
| Connection | Best for | Check before scanning |
|---|---|---|
| USB | First setup, one nearby computer, troubleshooting | Direct cable, correct scanner selected, no unstable hub |
| Wi-Fi | Shared home or office scanning | Same LAN, printer awake, no guest isolation or blocking VPN |
| Ethernet | Stable network-capable office models | Printer and computer on the same routed local network |
Scan a document with IJ Scan Utility step by step
Start with default settings and one ordinary page. Add advanced options only after this basic workflow succeeds.
The labels can vary slightly by package and platform, but the practical sequence remains the same. If your model uses a different Canon scanning application, follow the model's official manual while keeping the same checks for source, scanner selection and save destination.
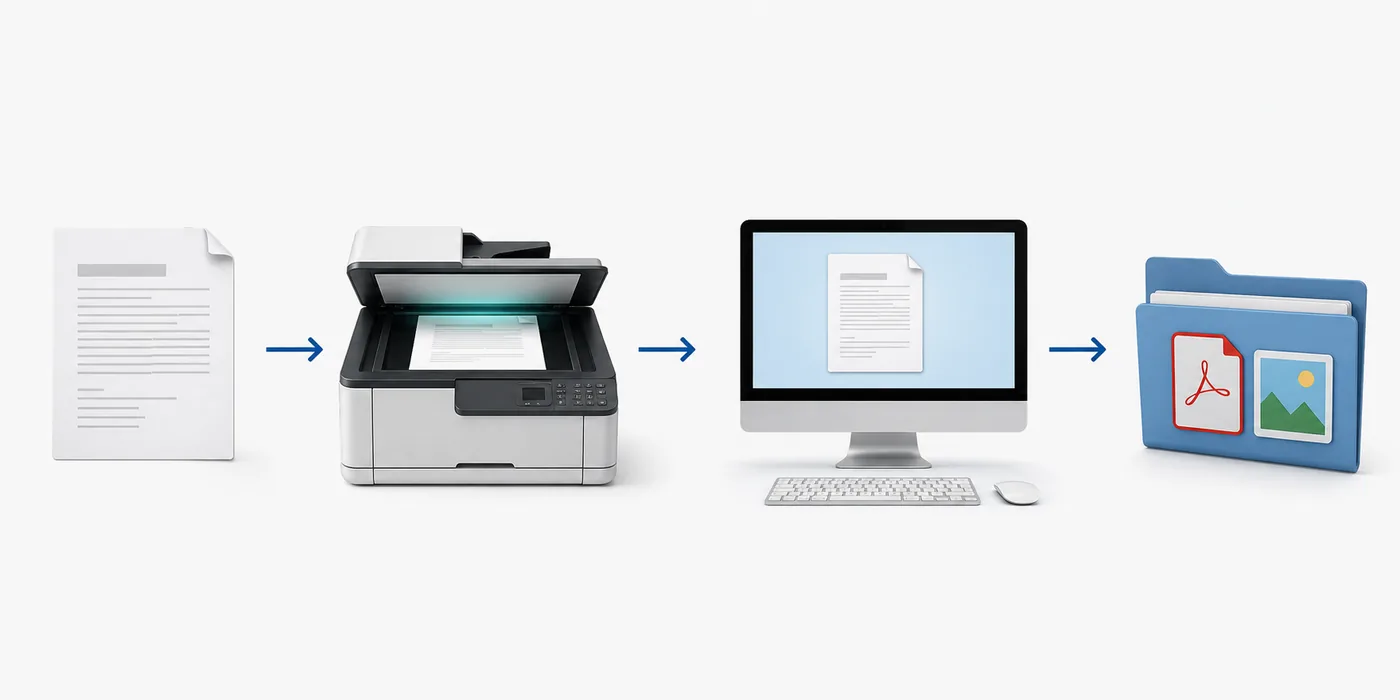
- Load the originalPlace one clean page on the glass or load a supported stack into the feeder.
- Open the Canon utilityLaunch IJ Scan Utility or IJ Scan Utility Lite from the computer, not from an unknown downloaded shortcut.
- Select the scannerOpen Settings and confirm the complete model and the intended USB or network connection.
- Choose the scan typeUse Document for normal pages, Photo for images, or a custom profile only when you understand its resolution and file settings.
- Confirm the destinationChoose a folder you can find, select PDF or JPEG, and use a descriptive file name when the option is available.
- Scan and inspectStart the scan, open the output and verify every edge, page, color and line of text before filing or sharing it.
Choose PDF, JPEG, resolution and the save folder
The best setting is the lowest-complexity option that preserves the information you need.
For normal text documents, 300 dpi is a practical starting point. Higher resolution increases processing time and file size without always improving readability. Photos, small details or later cropping can justify a higher setting, but test one image before scanning a large batch.
Use PDF for letters, contracts, forms and multi-page records. Use JPEG for photographs or a single page that will be placed into another document. If searchable PDF or OCR is available, verify the recognized text before relying on it because names, numbers and faint print can be misread.
Save the first test to a simple local folder such as Documents or Pictures. Cloud-synced folders can be used later, but permissions, sync delays and unavailable accounts add extra failure points. In IJ Scan Utility Settings, confirm the destination before scanning so the file does not appear to be missing.
| Task | Suggested format | Starting point |
|---|---|---|
| Letter or receipt | 300 dpi, grayscale or color as needed | |
| Several pages | Multi-page PDF | Feeder when supported; inspect page order |
| Photo | JPEG | Color, higher resolution only when useful |
| Editable text | Searchable PDF or OCR output | Proofread names, dates and numbers |
Fix a Canon printer that will print but will not scan
Printing and scanning can use different software components, so a working print queue does not prove that the scanner driver and utility are ready.
If no scanner is listed, restart the printer and computer, reconnect the cable or network, and select the device again in Settings. Confirm that the full Canon scanning package is installed. On a network, temporarily disconnect a VPN and verify that both devices use the same home or office LAN.
If the scan starts but fails, test one page at the default resolution and save it to a local folder. Check free disk space and folder permissions. If only feeder scans fail, remove the stack, clean and align the pages, and test one supported sheet on the glass to separate a feeder problem from a software problem.
If the application cannot be found after installation, the selected package may contain only a printer driver. Return to Canon Support for the complete model, operating system and region, then review the software and driver categories. Avoid registry cleaners and random driver sites; they make the source of the problem harder to verify.
Verify the current Canon software for your exact model
A model-specific official support page is more reliable than a generic claim about the latest IJ Scan Utility version.
Canon changes package names, supported operating systems, release dates and bundled components by model and region. For that reason, this guide does not publish a universal version number, file size or direct installer URL. Use the homepage finder, re-enter the complete model on Canon Support and manually confirm the selected operating system.
Before opening a downloaded package, check that the browser address belongs to the official Canon region, the page names the correct product, the operating system matches the computer and the package description includes scanning software or the required driver. Record the source page and date when maintaining several computers so a later reinstall can be verified again.
Questions about scanning from a Canon printer to a computer
How do I scan a document from my Canon printer to my computer?
Load the document, open IJ Scan Utility or IJ Scan Utility Lite, select the correct scanner, choose Document, confirm the destination folder and start the scan. Open the saved file and inspect it before removing the original.
Can I scan over Wi-Fi without a USB cable?
Yes, when the Canon model supports network scanning and the printer and computer are on the same discoverable local network. Select the network version of the scanner in the utility settings.
Where does IJ Scan Utility save scanned documents?
The destination is shown in IJ Scan Utility Settings and commonly points to Documents or Pictures. Check that setting before scanning; do not assume the Desktop is the current destination.
How do I save a Canon scan directly to the desktop?
Open the utility's Settings, choose the relevant Document or Photo profile, change the save destination to Desktop and run a one-page test. A dedicated Scans folder on the Desktop is easier to manage than saving many files loose.
Why can my Canon printer print but not scan?
Printing can work with a basic print driver while scanning still needs the correct scanner driver, Canon utility and device selection. Recheck the official model package, connection and scanner selected in Settings.
What is the latest IJ Scan Utility version?
There is no reliable universal version for every Canon device. The current package, version, date and size depend on the exact model, operating system and regional Canon support page.
How do I scan from a Canon printer to a laptop?
Connect the printer to the laptop by USB or place both devices on the same local network, open IJ Scan Utility, select the matching scanner, choose Document, confirm the save folder and run a one-page test.
How do I scan multiple pages from a Canon printer to a computer?
Use the automatic document feeder when the model supports it, or scan each page on the glass and choose a multi-page PDF option. Check page order and the saved file before sharing it.